

Welcome to our Support Portal. Search for answers using the search box below,
or create a support ticket if you cannot find your answer.
Tip: Start typing in the input box for immediate search results.
Southwestern Illinois College IT Division has implemented Multi-Factor Authentication for accessing O365 from outside the campus network. This includes SWIC email, Teams and any additional O365 apps that you utilize.
Why do we need it?
Increases security to protect SWIC’s network.
Required for compliance or coverage:
o Cyber insurance
o GLBA
o SWIC’s external auditors
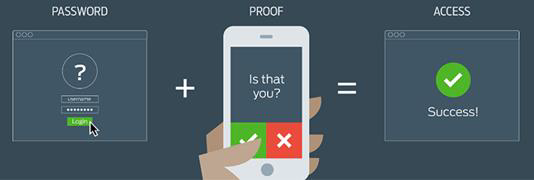
What is MFA?
MFA verifies your identity with multiple factors:
o Something you know:
▪ Password
o Something you possess:
▪ Phone, cell or land-line
▪ SMS Code (text)
How do I set up MFA?
You can setup your phone by these methods:
- Install the Microsoft Authenticator app on your phone
- Preferred and easiest method
- SWIC information is not stored on your device
- No fees are charged
- Or, if you don’t want to install the app, you can choose
- To receive a SMS text to your cell phone, or
- Receive a phone call to a land line from Microsoft
- charges may apply not reimbursed by SWIC
What is a MFA challenge?
Anytime you attempt to access SWIC’s network from off-campus, Microsoft will challenge your identity.
Once your identity is verified, you won’t be challenged again unless you change the source of your connection.
So, if you access Teams using your laptop and the Chrome browser, you will complete the MFA process and Microsoft now recognizes your connection as safe. You shouldn’t be challenged again as you move from app to mail to app, etc. within the Office 365 platform.
You will be challenged again if you change to a different laptop or even use a different browser the next time you connect because Microsoft sees there has been a change.
Do I have to use my own phone for authentication?
To access SWIC off campus, you must use some form of secondary authentication. You can set up the Microsoft Authenticator app on your phone (preferred and easiest method), receive a SMS text to your phone, receive a phone call from Microsoft (any applicable charges will not be reimbursed by SWIC).
Please be aware that accessing your data off-campus is a privilege and not a right. If you prefer not to use MFA you can continue to access your data from an on-campus network as long as insurance and auditors continue to allow.
How do I get started?
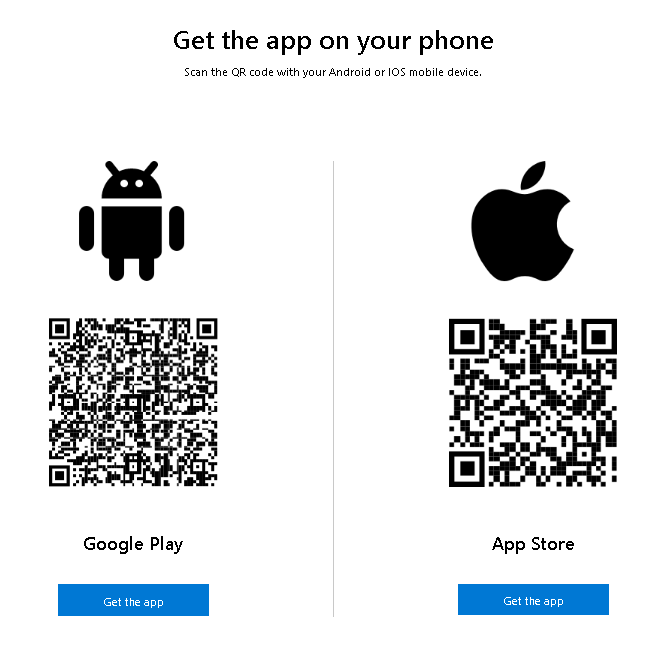
If you want to use the Microsoft Authenticator app as your 2-step verification – Download and install the Microsoft Authenticator app.
You can search your phone’s app store, but remember to search specifically for Microsoft Authenticator – there are many authenticator apps out there and you want to get the correct one.
Use the following QR code for a direct link to the Microsoft Authenticator app download link.
NOTE – The Microsoft Authenticator app requires a minimum of 8.0 operating system for an Android phone.
Help links from Microsoft
About Authenticator: https://www.microsoft.com/en-us/security/mobile-authenticator-app
Authenticator Overview: https://support.microsoft.com/en-us/account-billing/how-to-use-the-microsoft-authenticator-app-9783c865-0308-42fb-a519-8cf666fe0acc
Set up Authenticator App: https://support.microsoft.com/en-us/account-billing/set-up-an-authenticator-app-as-a-two-step-verification-method-2db39828-15e1-4614-b825-6e2b524e7c95
Setting up MFA
Once MFA has been implemented (January 30, 2023) for SWIC, you will be prompted to use MFA when logging into your SWIC email or Teams when off the SWIC network. Remember – if you are accessing your email while using a campus computer, you will not be prompted for MFA.
(MFA may not challenge you when using the Outlook or Teams app on your mobile device once you have set it up.)
You will receive some Microsoft sign in and set up screens that look similar to below.
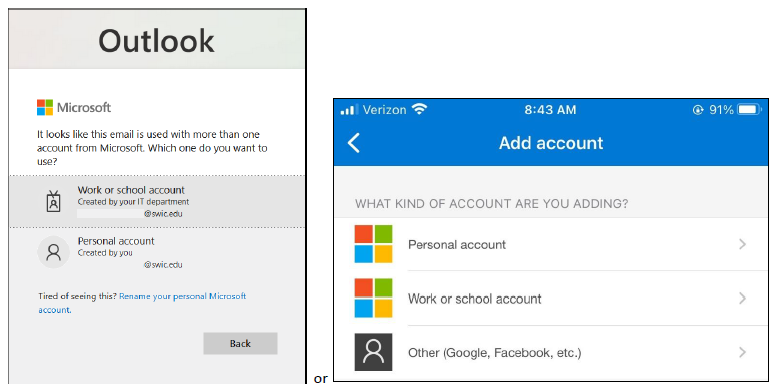
- Sign in to your SWIC email account:
- Choose Work or School account:
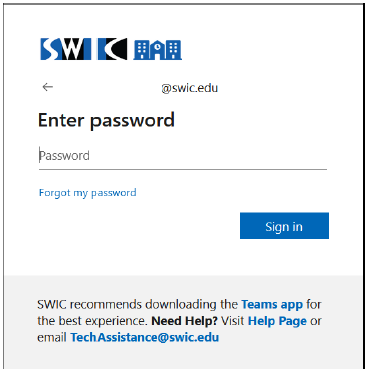
- Enter your SWIC password:
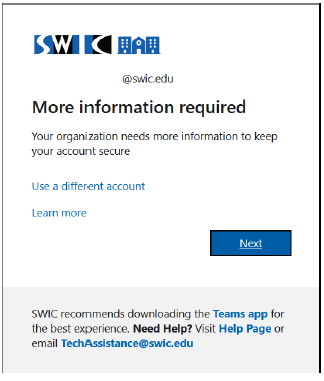
- After MFA has been turned on, you will get a screen noting More information required. This is where you will set up your MFA authentication. Click Next here:
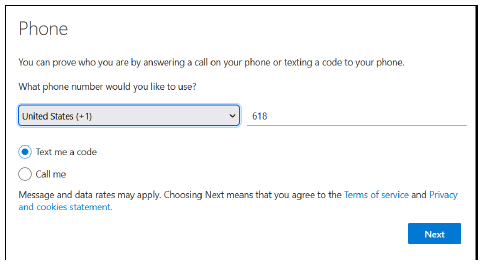
- A phone number is required to set up your MFA. Once you are set up, you can choose whether to use a text code or the Authenticator app as your method of authentication.
- For the first step, enter your phone number for the 2nd step authentication:
- The code will be sent to you via text, enter that code in the screen below:
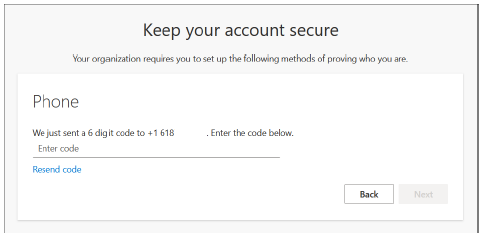
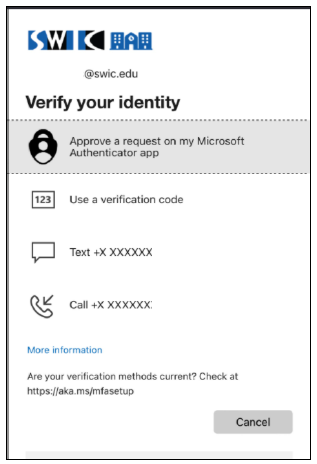
- If you receive the following screens, you have successfully set up your MFA and can proceed to your email account:

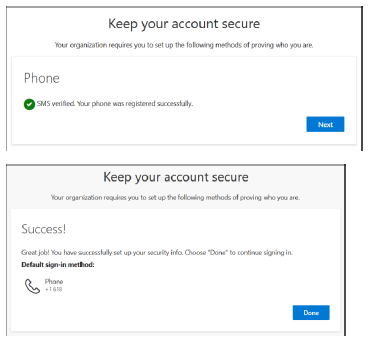
- Once you have successfully set up your MFA, this is an example of the screen you will receive when accessing your SWIC email off campus:
Update your MFA preferences:
- Go to https://account.microsoft.com/account/ and sign into your Microsoft account.
- Select Security and then select Update my info.
- Sign into your account again and select Add security info.
- Choose to add a new phone number or email address, add your new info, and select Next.
- Enter the code sent to your new phone number or email address and select Next.
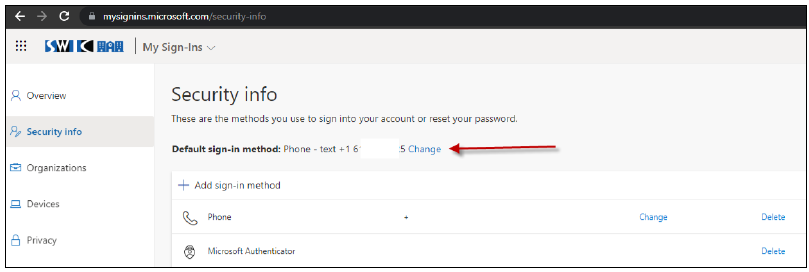
To set your default Sign In Preferences, From the App, click on your SWIC account and choose Update Security Info. You will be directed to the following page where you can add, delete and change your default MFA option.
If you need more help:
Visit a Campus Library or contact the Technology Assistance Center.